Friday, November 20, 2009

Cake Slice - Burnt Sugar Cake


This is my second month as a member of The Cake Slice Bakers and this month it was all about sugar. Since I have a major (and I mean major) sweet tooth I was quite excited when I found out that the cake for this month was a lovely sounding Burnt Sugar Cake from Southern Cakes by Nancie McDermott. However when I discovered that we had to melt sugar to make the burnt sugar syrup I have to admit that I was a little scared. The last time I made toffee the pot had to be thrown away after - I made a mess of the whole thing. Well luckily this time my pot (well frying pan) came out of this baking session alive and more importantly the cake was fantastic. The burnt sugar syrup has an amazing rich toffee flavour, the cake was lovely and moist and the icing although a little grainy from the icing sugar was good too. If I make this cake again I will replace the icing with swiss meringue buttercream and then I think the cake would be perfect. So if you do want to bake this cake I would suggest making up a batch of vanilla swiss meringue buttercream and then adding the burnt sugar syrup to taste - that would be delicious!

Oh and if you are wondering, my icing was melting since it was 44 C (111 F) here when I baked the cake - so I decided to go with the flow and just let the icing dribble down the side of the cake. Well that is my excuse and I'm sticking with it!
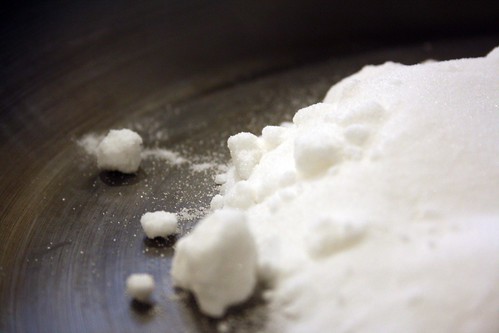

Burnt Sugar Syrup


1 cup sugar
1 cup boiling water
  1. Heat the sugar in a cast iron skillet or another heavy bottomed pan with high sides. Heat over a medium-low heat, stirring occasionally, until the sugar melts into a clear brown caramel syrup. It should be the colour of tea.
  2. Gradually add the boiling water, pouring it down the sides of the pan so that if the syrup foams and bubbles up, you should be protected.
  3. Continue cooking, stirring often, until the water combines with the syrup and turns a handsome brown syrup.
  4. Remove from the heat and set aside to cool. Store the cooled syrup in a sealed jar if not using right away (I stored mine for 3 days).


Burnt Sugar Cake (from Southern Cakes by Nancie McDermott)


3 cups all purpose flour
1 tbsp baking powder
½ tsp salt
1 tsp vanilla extract
1 cup milk
1 cup (2 sticks) butter
1¾ cups sugar
4 eggs
½ cup Burnt Sugar Syrup (recipe above)
  1. Heat the oven to 350 degrees F. Grease and flour two 9 inch round cake pans (I baked mine in 2 6 inch round cake pans and a 12-hole muffin tray lined with cases).
  2. In a medium bowl, combine the flour, baking powder and salt and stir with a fork to mix well. Stir the vanilla into the milk.
  3. In a large bowl, beat the butter and the sugar with an electric mixer at high speed for 2 – 3 minutes, until they are well combined. Stop now and then to scrape the bowl down. Add the eggs, one by one, beating well each time. Pour in half a cup of the burnt sugar syrup and beat well.
  4. Add a third of the flour mixture and about half of the milk, beating at a low speed, until just incorporated. Mix in another third of the flour and the rest of the milk. Finally, add the remaining flour.
  5. Divide the batter between the cake pans and bake at 350F for 20 to 25 minutes until the cakes are golden brown, spring back when touched gently in the centre and begin to pull away from the sides of the pan (for some reason it took 40 minutes in my oven - maybe because I couldn't preheat - due to little miss Zoe crawling around).
  6. Let the cakes cool in the pans on a wire rack for 15 minutes. Turn out the cakes onto a wire rack to cool completely.

Burnt Sugar Frosting


3¾ cups confectioners sugar
½ cup Burnt Sugar Syrup (above)
¼ cup (½ stick) butter
½ tsp vanilla extract
2 – 3 tbsp evaporated milk or normal milk (I used normal milk)
  1. In a large bowl, combine the confectioners sugar, the burnt sugar syrup, butter and vanilla. Beat with a mixer at medium speed for 2 to 3 minutes, scraping down the bowl now and then to bring the ingredients together.
  2. Add 2 tablespoons of the milk and continue beating until the frosting is thick, soft, smooth and easy to spread. Add a little more sugar if it is thin, and a little more milk if it is too thick.
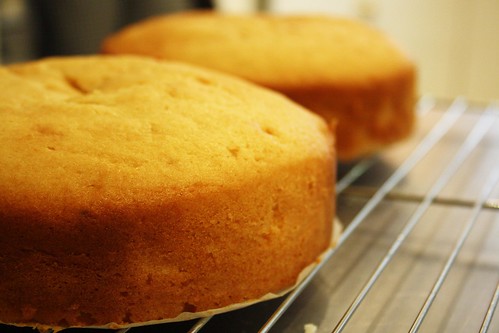
To Assemble

Place one layer, top side down, on a cake stand or serving plate.


Scoop about ¾ cup of the frosting onto the cake and spread to the edges.
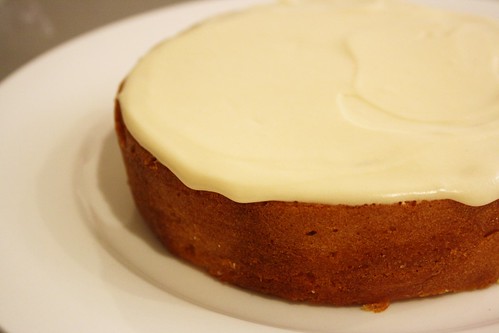

Place the second cake layer over it, top side down (I put mine bottom side down for that homely feel/look).
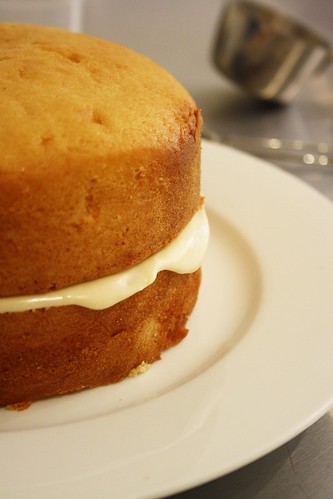

Frost the sides of the cake, and then the top until it is evenly covered (as you can see mine was sort of more drizzled).
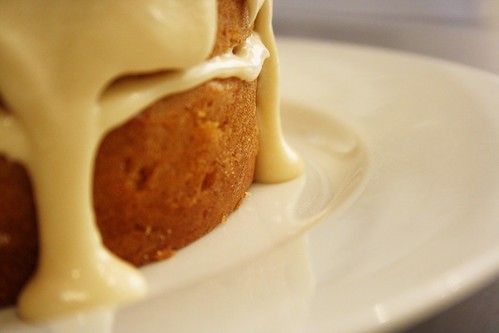

Now cut yourself a slice and if you have any leftover syrup pour a little on top - because there isn't enough sugar already :P
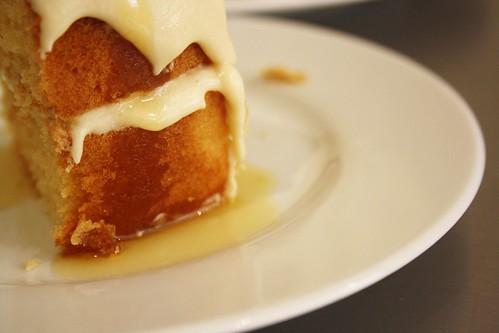

In the words of Mat...

"It just tastes like sugar,
it's a sugar cake
and there's nothing wrong with that."

The week that was

1. Carrot and lentil dhal with pita bread and garden salad.
2. Salad sandwich with cottage cheese.
3. Weet-bix with sultanas and skim milk.
4. Lamb pita pizza with mint yoghurt.

It has been super hot here this week. Yesterday it got to 44C (111F)! So we have been having lots of salads and icy-cold milk on cereal in the mornings. Thank goodness the cool change has finally arrived.

What has been the highlight in your week of food?

ETA

Carrot and Red Lentil Dhal ( from Healthy Food Guide - October 2009)
Serves 4

500g carrot, grated
500ml vegetable stock
500ml water
1/2 cup red lentils, washed
2 tbsp crunchy peanut butter
2 tsp curry powder
low-fat natural yoghurt, to serve
pita bread, to serve
green salad, to serve
  1. Spray a saucepan with oil. Over medium heat cook carrot for 10 minutes.
  2. Add stock, water and lentils and simmer for 30 minutes.
  3. Stir in peanut butter and curry powder. Season. Simmer until thickened. Serve with yoghurt and pita bread, with salad or stir fry vegies.

Wednesday, November 18, 2009

RIP PowerBook

Last night I killed my PowerBook that I have used and loved for the last four years. I was just settling down after a long day with Zoe, sipping on my cup of tea and then ah-choooo! I sneezed and spilt my cup of tea all over my laptop keyboard! We got paper towel on to it quick smart, but when we tipped it upside down it was dripping with tea. I have never seen such a horrific sight. I am not ashamed to admit that I cried last night, I cried and cried, and even went to bed sniffing. I loved my laptop and it was gone.

Fast forward to this afternoon when I got a phone call from Mat - he bought me a new MacBook Pro! It is beautiful, shiny and powerful, and best of all we have been able to transfer all of my data from the old PowerBook onto my new MacBook! I was worried that I had lost the last month's worth of photos (including Zoe's 1st birthday party) but I haven't lost a thing, thank god!

So my friends can I suggest to you that if you are feeling sneezy and have a cup of tea in your hand that you do not use your laptop, unless of course you want to upgrade :P

Tuesday, November 17, 2009

Clive's Tips - Tip #2

First of all Clive wanted me to pass on his top 5 favourite movies of all time:

1. Bambi - I think that is self explanatory.
2. The Thin Red Line - get it?
3. Open Season - again with a deer as the main character.
4. Snow White - lots of lovely forest folk.
5. Notting Hill - he is a hopeless romantic after all.


So now that we have got that out of the way it is time to pass on Clive's wealth of knowledge with you all. Did you know that Clive has baking since he was 4 years old? Now at the mature of age 21 he has decided to share his baking wisdom of 17 years in order to help all aspiring bakers out in the blogosphere.

Whisk your dry ingredients together before adding to the wet ingredients.

By doing this you minimise the amount of stirring needed to properly combine the dry ingredients, therefore reducing the risk of over mixing and losing all of the air from your batter. You also ensure that each of the dry ingredients is distributed evenly in the batter, instead of having small pockets of cocoa powder as an example.

Monday, November 16, 2009

On the first day of Christmas (Jam Cookies)

A few of you asked what my next project was going to be now that my A.. B.. Cupcakes project is finally finished. Well, since it is nearly Christmas I thought why not bake some sweet Christmas treats? So my friends I present to you the...
Between now and Christmas I will post 12 Christmas recipes - including truffles, cookies, cakes and candy. It is going to be fun, and I hope you stick around for the ride!


On the first day of Christmas my true love sent to me Jam Cookies!

I thought I would start off the project with a relatively simple cookie and this Jam cookie sounded just right. Once I started making it however I ran into a few problems. First of all the dough was supposed to come together so that it could be kneaded. My dough looked like a big bunch of crumbs, so I had to alter the recipe a bit.


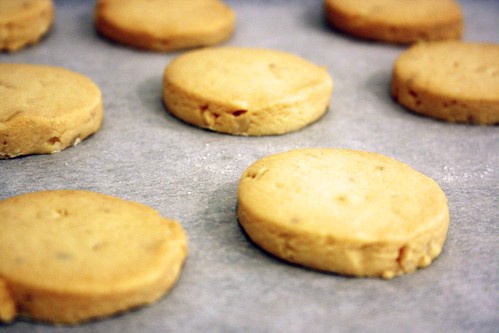
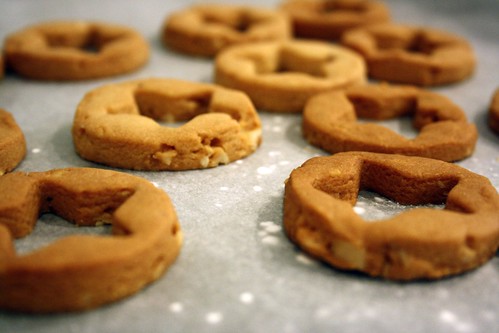
Then my next issue was that they were supposed to bake in 8-10 minutes, after 20 minutes I decided that the temperature must of been too low so I pumped it up and then burnt them. See the bottom of the cookies weren't too bad...


But the tops were a bit dark...


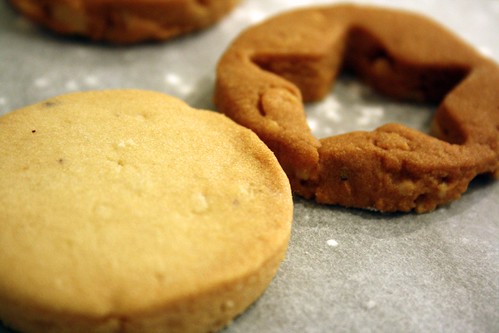
Then when you see the bottom and the top next to each other you can really notice the difference, whoops!


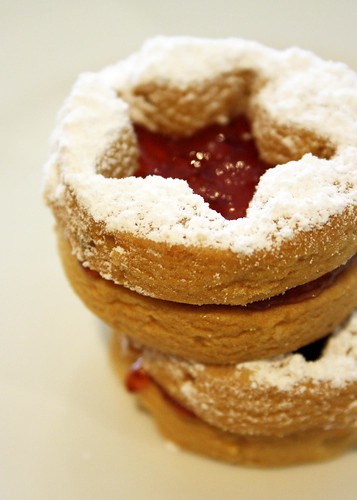
Luckily you dust these babies with a whole heap of icing sugar so no one needs to know just how much you over-baked them...


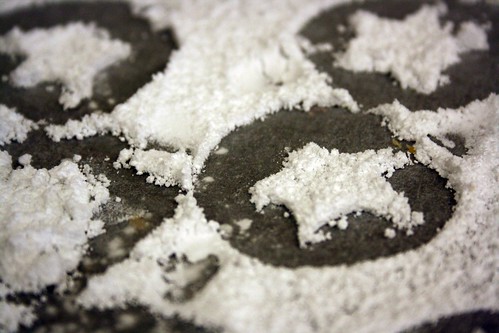
And also the icing sugar leaves a cool pattern on your bench top...


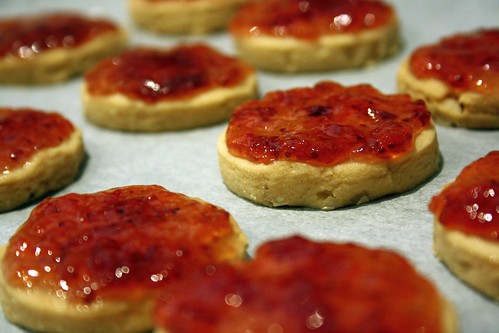
And everyone is more forgiving when you pile on the jam...


Even after all the issues with these cookies they were still pretty good, just like a hazelnut shortbread with jam and icing sugar to make it nice and super sweet (just the way I like it).


Jam Cookies (from Better Homes and Gardens - December 2008)
Makes about 12 biscuits

125g unsalted butter, softened
1/2 cup icing sugar, sifted
1 tsp vanilla extract
1 1/3 cups plain flour
1/4 cup rice flour
1/3 cup hazelnuts, toasted, finely chopped
1 egg
extra flour, for kneading
1 cup plum jam (I used strawberry jam)
icing sugar for dusting
  1. Preheat oven to 160C (I would try 170C if I made these again). Line 2 oven trays with baking paper.
  2. Beat butter, sugar and vanilla extract until light and creamy.
  3. Add flours and hazelnuts and mix until well combined (at this stage I added in a beaten egg - because my dough wouldn't come together).
  4. Turn onto a lightly floured surface and knead gently.
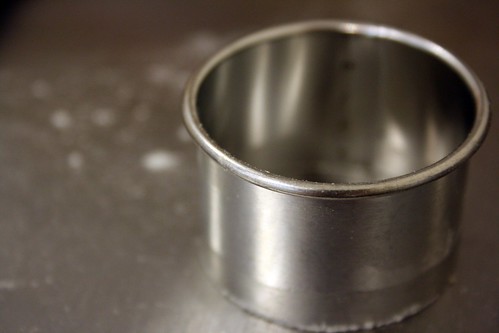
  5. Roll out dough on a lightly floured surface until 6mm thick. Using a 4cm fluted cutter (I just used a circle cutter), cut out rounds. Using a smaller fluted cutter (I used a small star cutter), cut out the centres from half the cookies. (Re-roll the centres into extra cookies if desired.)
  6. Put whole cookies on 1 prepared tray and cut-out cookies on the other. Bake for 8-10 minutes or until pale golden (I would try at 170C for 10 minutes if I made these again).
  7. When cooled sprinkle icing sugar over the cut-out cookies and jam over the whole cookies, then sandwich the two pieces together.
  8. Best enjoyed on the day of baking or the next day.

Rating
3 out of 5 reindeers!

Friday, November 13, 2009

The week that was

1. Chicken and mushroom ravioli with cherry tomatoes, broccoli and basil pesto.
2. Scrambled eggs with tomato, mushroom and parsley.
3. Ham, salad and hommus sandwich on wholemeal bread.
4. Watermelon

We have been trying to eat healthy this week and so far we are doing pretty well - but eating healthy definitely comes at a price! The cost of groceries is so expensive at the moment it is quite depressing. Oh well, at least the watermelon makes me feel better - so sweet and juicy at the moment, yum!

Again if you want any recipes let me know and I'll post them up.

What was the food highlight of your week?

ETA a recipe...

Ravioli with Pesto and Broccoli (from Healthy Food Guide - October 2009)
Serves 4

3 cups broccoli florets
400 g chicken and mushroom ravioli
3 tbsp basil pesto
2 tbsp olive oil
1 cup cherry tomatoes, halved
green salad, to serve

  1. Cook broccoli in boiling water for 2 minutes. Add ravioli. Cook following packed directions. Drain and return to pan.
  2. Stir in pesto and oil. Add tomatoes and toss. Serve with salad.

Thursday, November 12, 2009

Cupcake Hero - Chocolate Peanut Butter and Banana Cupcakes

The second round of Cupcake Hero has begun - ding ding! Well actually you can't vote yet - but you can bake if you still want to. The theme for this month is peanut butter, and my first thought was dang, I've already made my awesome peanut butter cup cupcakes. So what to make? Everyone knows that peanut butter and jam go together so I decided against that. But did you know that some people like peanut butter and banana sandwiches? I don't personally, but supposedly it is a done thing. Still peanut butter and banana just seemed to simple so instead I present to you my....

Chocolate Peanut Butter and Banana Cupcakes


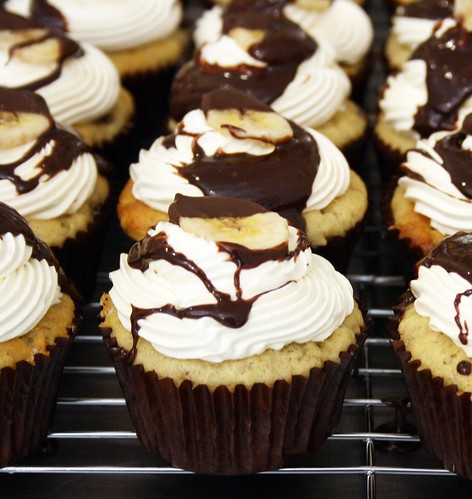
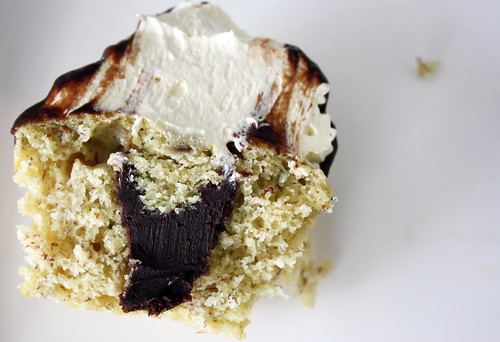
Banana cake filled with peanut butter and dark chocolate ganache, topped with peanut butter swiss meringue buttercream, drizzled with dark chocolate ganache and finished with a choc-dipped banana chip

Before I give you the recipe for these babies can I just say holy moly! These cupcakes were darn good - this flavour combination totally rocks my world. All the folks at Mat's work raved over these cupcakes, in fact I think the only complaint was that it was a bit rich after eating two of them. So if you like peanut butter, bananas and chocolate (and really who doesn't) then I can definitely suggest you make these cupcakes, you won't regret it.


Banana Cupcakes (adapted from The Australian Women's Weekly Classic Cakes)
Makes 24

185g butter, softened
175g caster sugar
3 eggs
335g self-raising flour
1/2 tsp bicarbonate of soda
1 1/4 cups mashed banana (I needed 4 bananas)
1/3 cup milk
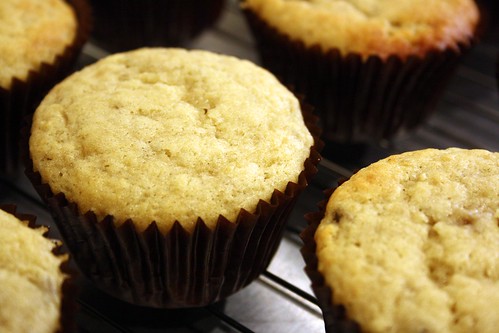
  1. Preheat oven to 180C. Line 2 12-hole muffin trays with cupcake cases.
  2. Beat butter and sugar until light and fluffy. Beat in eggs, one at a time.
  3. Stir in the sifted dry ingredients, mashed banana and milk.
  4. Divide mixture into cases and bake for 15-20 minutes or until a skewer comes out clean.
  5. Let the cupcakes cool in the tins for 5 minutes and then transfer to wire racks to cool completely.
  6. Prepare the peanut butter dark chocolate ganache, peanut butter swiss meringue buttercream and choc banana chips while you wait :)


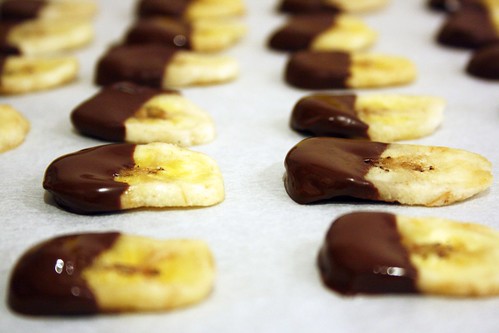
Choc-Dipped Banana Chips

24 banana chips (have extras if you feel the need to snack)
100g dark chocolate
  1. Melt dark chocolate either in the microwave or using a double boiler.
  2. Dip one end of each banana chip into the dark chocolate, then place on a tray lined with baking paper.
  3. Leave to set at room temperature.

Peanut Butter Dark Chocolate Ganache (and Dark Chocolate Ganache)

13.5 ounces dark chocolate, in small pieces
1 1/2 cups thickened cream
1 tbsp smooth peanut butter
  1. Place the dark chocolate in a bowl.
  2. In a small saucepan heat the cream over medium heat. Bring it just to a boil - be careful to not let it overflow.
  3. Pour the cream over the dark chocolate and whisk until smooth.
  4. Transfer half of the ganache into a separate bowl and whisk in the peanut butter.

Peanut Butter Swiss Meringue Buttercream

4 egg whites
270g caster sugar
250g unsalted butter, softened
4 tbsp peanut butter
  1. Combine the egg whites and sugar in a heatproof bowl and whisk over a saucepan of simmering water until sugar is dissolved and the mixture is as hot as you can get it without the egg whites cooking. To test rub the mixture between your fingers and if you can't feel any sugar granules then it is ready.
  2. With the whisk attachment on your mixer whisk the egg white and sugar mixture on high speed until a stiff meringue is formed and the mix has cooled down to room temperature. This should take about 10 minutes.
  3. Now put the paddle attachment on your mixer and with the mixer on a low speed add a tablespoon of butter at a time. Once all the butter is incorporated turn the mixer up to medium speed and mix until the mixture is light and fluffy again. This should take about 4-6 minutes.
  4. Add the peanut butter and mix on medium speed until combined.

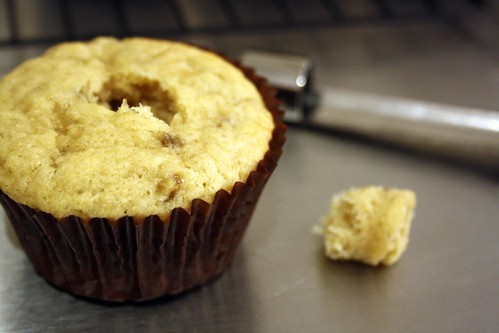
Now that you have all the components ready and the cupcakes are cooled it is time to finish it all off. First using either an apple corer or a small knife cut a well into each cupcake...


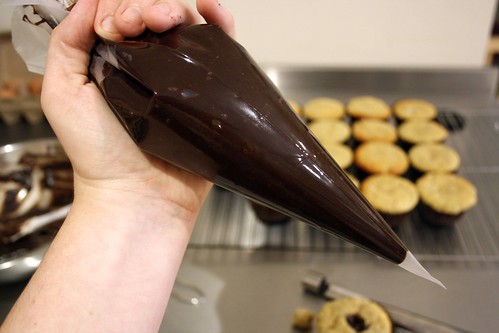
Now it is time to fill each cupcake with the peanut butter dark chocolate ganache, I used a piping bag to do this but you could just use a spoon...


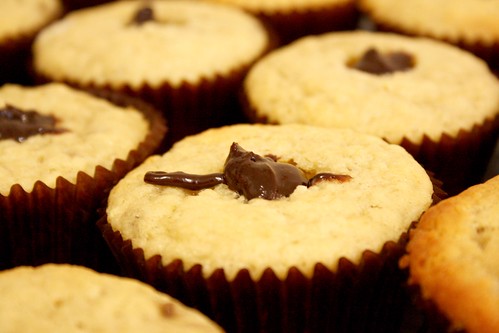
Fill each well right up to the top...


Then replace the top of each cupcake...


Finally pipe a swirl of the peanut butter swiss meringue buttercream, add a choc-dipped banana chip and drizzle with some dark chocolate ganache...


Enjoy your chocolate/peanut butter/banana creation...


Yum!