Showing posts with label cinnamon. Show all posts

Wednesday, February 23, 2011

20 Sweets in 20 Weeks - #12: Apple & Cinnamon Slice

Apple & Cinnamon Slice

So we are up to number 12 in the 20 Sweets in 20 Weeks project - definitely over the half way mark and I am started to get excited about finishing this little project up. I have the next 8 sweet genres planned out - and let me tell you, there is still a lot of sweet goodies to come your way.

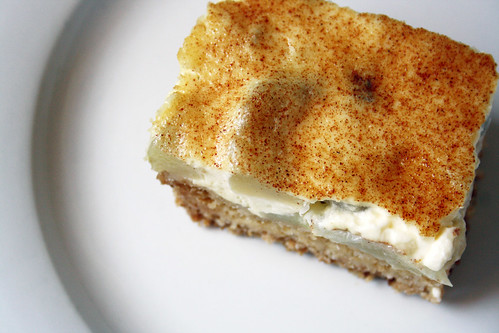
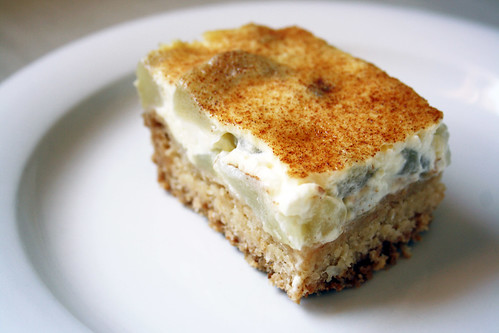
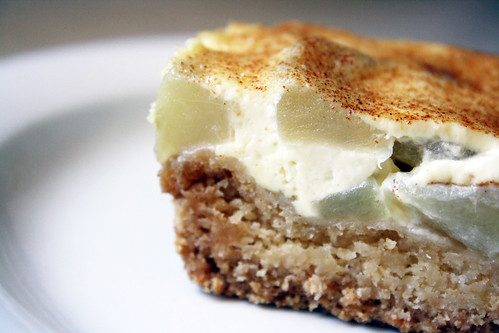
Anyway on to the baked slice - this was a close call between lemon & coconut, and apple & cinnamon. Secretly I was hoping that lemon & coconut would win, but I am still happy with the result. This slice is extremely easy to make since you get to cheat a bit by using a packet of cake mix for the base. The bottom is nice and crunchy thanks to the added coconut, and the canned apple & sour cream make for a lovely moist top to the slice, which is then finished off with cinnamon sugar. Such a simple slice with simple flavours that you just know are going to work together. Why not give it a try?

Apple & Cinnamon Slice

Apple and Cinnamon Slice (from taste.com.au)
Serves 8

340g packet golden buttercake mix
90g desiccated coconut
125g unsalted butter, melted
400g can apple pieces
300g sour cream
1 tsp cinnamon sugar
  1. Preheat the oven to 180°C. Grease a 20cm square cake pan. Line base and the two opposite sides with baking paper, extending the paper 5cm over edge of pan.
  2. Combine cake mix, coconut and butter in a medium bowl. Press mixture evenly over base of prepared pan. Cook for 15 minutes, or until lightly browned. Cool slightly.
  3. Spread apple evenly over base, then spread sour cream evenly over apple and sprinkle with cinnamon sugar. Cook for further 20 minutes, or until sour cream has set.
  4. Cool in pan. Cut the slice into fingers to serve.
Apple & Cinnamon Slice

Sunday, January 2, 2011

20 Sweets in 20 Weeks - #4: Apple Pie

Apple Pie

I feel very slack indeed - I posted up the poll for "week 4" of 20 Sweets in 20 Weeks way back in July I only just now finally got around to baking my apple pie. What can I say? Life happened - separation, pregnancy and of course little Grace. So I have been busy - but now that I am back on the blogging bandwagon I promise to get through the rest of the 20 sweets nice and quick.

Apple Pie

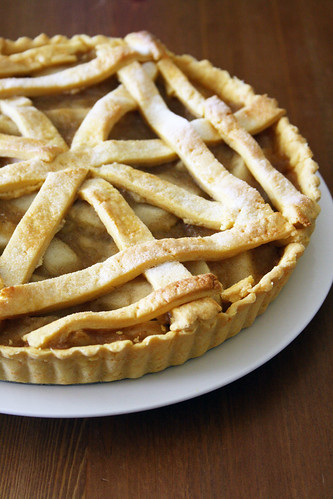
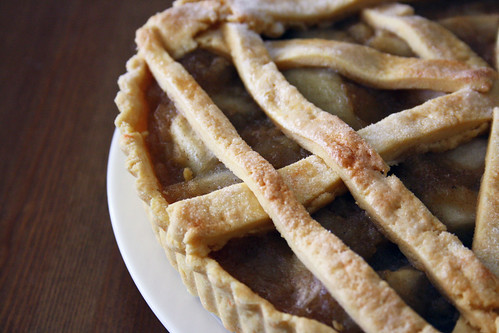
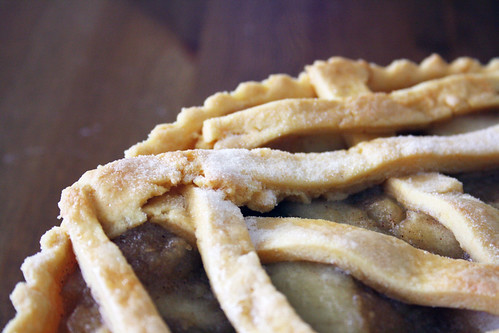
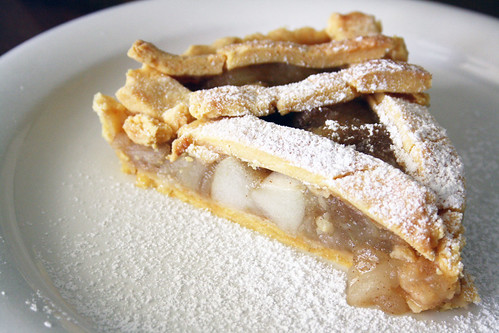
So even though it got to 39 degrees Celsius (102 F) on Thursday I decided that that would be the day to bake my hot apple pie. This recipe is quite easy to follow and the pie that you get at the end is simply delicious. A lovely pastry, a filling that is not too sweet and a lovely cinnamon flavour. The only things that I changed (read: stuffed up) was using strips of pastry on top of the pie instead of having it completely covered in pastry and I left out the lemon zest from the lemony apple filling. I had to do strips of pastry because my pie dish was larger than the required 23cm dish so I didn't have enough pastry to cover it, and I left out the lemon because I forgot to buy one, but it still tasted really good without it. Now on to the recipe...

Apple Pie

Old-Fashioned Apple Pie (from The Australian Women's Weekly Basic Cookbook)

Pastry
1 cup plain flour
1/2 cup self-raising flour
1/4 cup cornflour
1/4 cup custard powder
1 tbsp caster sugar
125g unsalted butter, chopped
1 egg, separated
1/4 cup water, approximately
1 tbsp caster sugar, extra

Lemony Apple Filling
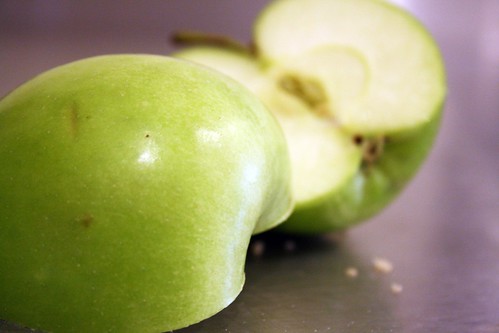
7 large apples (I used granny smith apples)
1/2 cup water
2 tbsp sugar
1/4 tsp ground cinnamon
1 tsp grated lemon rind (I omitted this)
  1. Pastry: Combine sifted flours, custard powder and sugar in large bowl, rub in chopped butter with fingertips until ingredients are just combined.
  2. Add enough combined egg yolk and water to mix to a firm dough. Turn dough onto lightly floured surface, knead gently until smooth. Cut dough in half, wrap in plastic wrap, refrigerate 30 minutes.
  3. Roll out half the pastry between sheets of plastic wrap until large enough to line deep 23cm pie plate.
  4. Remove top piece of plastic from pastry. Use remaining plastic to help turn pastry into pie plate. Carefully press pastry into pie plate; do not stretch pastry. Carefully remove remaining plastic.
  5. Trim edge of the pastry with sharp knife; reserve scraps.
  6. Spoon cold filling evenly into pastry case, brush edge of pastry with lightly beaten egg white.
  7. Roll out remaining pastry, cover filling with pastry. Press edges together firmly, trim with knife. Using fingers pinch edges to make a frill. (I didn't have enough pastry because my pie tin was too big so I just put strips of pastry on top of my pie)
  8. Roll reserved pastry scraps between sheets of plastic wrap, cut leaf shapes from pastry, if desired. Mark veins on leaves using small knife. Brush pastry with egg white, place leaves in position, brush leaves with egg white.
  9. Sprinkle pie evenly with extra sugar. Bake at 425 F for 20 minutes, reduce heat to 350 F, bake further 20 minutes or until pie is golden brown.
  10. Lemony Apple Filling: Peel apples, cut into quarters, remove cores. Cut each quarter in half lengthways. Place apples into large saucepan with water, bring to boil, reduce heat, cover, cook for about 5 minutes or until apples are just tender. Transfer apples to a bowl, gently stir in sugar, cinnamon and lemon rind; cool to room temperature.
Apple Pie

Monday, November 23, 2009

Iron Cupcake - Keep It Simple Apple Cinnamon Cupcakes


It is Iron Cupcake time again and this month the not-so-secret ingredient was apple. As soon as the ingredient was announced I started to rack my brain - toffee apples, apple pie, baked apples, apple crumble - arrrghh! What to do? I finally decided that you just can't mess with the apple and cinnamon combination, I know it isn't very inventive but it is darn tasty!


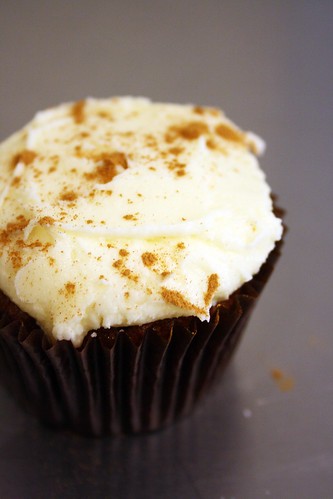
Apple cinnamon cake topped with cream cheese buttercream and dusted with ground cinnamon


Apple Cinnamon Cupcakes (from Confetti Cakes for Kids by Elisa Strauss)
Makes 24 cupcakes

3 3/4 cups plain flour
1 tbsp plus 1 tsp baking powder
1 tbsp plus 1 tsp cinnamon
1 tsp bicarbonate of soda
1 tsp salt
1/2 tsp ground cloves
1 cup unsalted butter
3 cups packed brown sugar
4 eggs
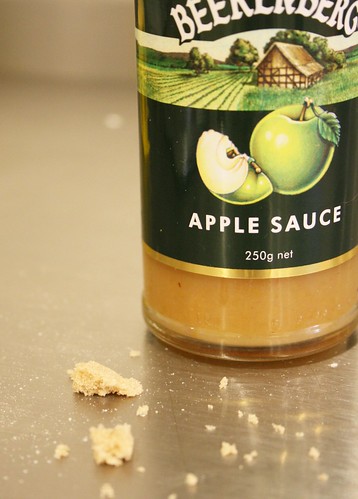
1 cup apple sauce
2 apples, peeled and chopped finely
  1. Preheat the oven to 350F and line 2 12-hole muffin trays with cupcake papers.
  2. In a large bowl, sift together the flour, baking powder, cinnamon, bicarbonate of soda, salt and cloves. Set aside.
  3. Beat butter and sugar until light and fluffy. Add the eggs, one at a time, scraping after each addition.
  4. Alternately add the flour mixture and the apple sauce to the butter mixture in three batches, starting with the flour. Scrape down the bowl after each addition and beat until thoroughly combined.
  5. Add the apples and stir them in just until they are incorporated.
  6. Divide the batter among the cupcake papers and bake for 20-25 minutes.

Cream Cheese Buttercream

60g butter, softened
160g cream cheese, softened
3 cups icing sugar (approximately)
  1. Beat butter and cream cheese until light and fluffy.
  2. Gradually beat in sifted icing sugar until you reach the consistency you want.
  3. Spread over cooled cupcakes and then top with a dusting of ground cinnamon.

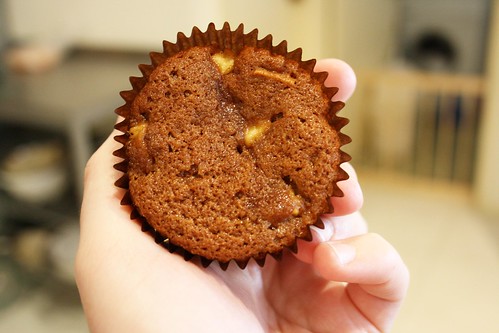
Look at those yummy chunks of apple...


All lined up ready to be packed up in the cupcake courier...


Well this one didn't make it to the courier :P


Our Generous IronCupcake:Earth Prize Providers:

Tuesday, October 20, 2009

New Member of The Cake Slice Bakers


You heard me right, I am one of the new members of The Cake Slice Bakers and I must say I am a little bit excited. Why am I excited you may ask? Well good friends there are a number of reasons:
  1. I get to bake something that is not a cupcake for a change.
  2. I 'needed' to buy a new cook book to bake from for the next year (Southern Cakes by Nancie McDermott).
  3. I am now part of an elite group of bakers.
Yes I am excited.

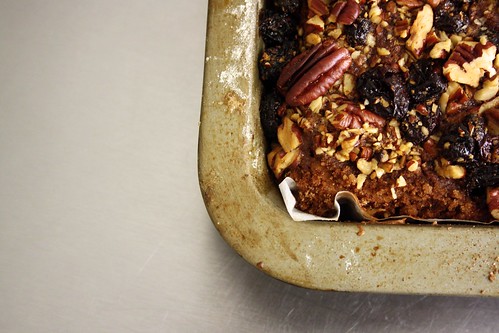
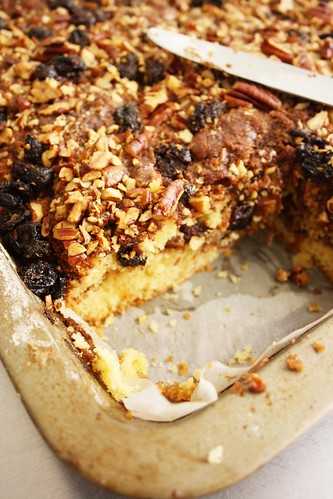
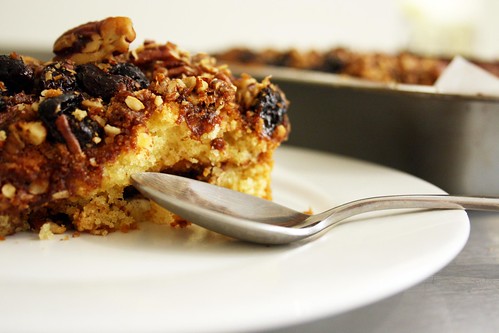
The first cake that was chosen from the new book was the Cinnamon Pecan Coffee Cake. Now at first I must admit I wasn't very excited about this because I thought that meant that there was actually going to be coffee in the cake. You see I can't stand coffee or anything coffee flavoured - I am a cup of tea kinda gal. After reading the recipe however I was pleasantly surprised to find that there was in fact no coffee in the cake, and instead it is simply a cake that is to be eaten with coffee - yay! So after my absolutely mad weekend (with Zoe's 1st birthday) I baked up this lovely, lovely cake. The cinnamon aroma that comes out of the oven as you bake this cake is just heavenly and the cake itself a lovely balance of light cake with crunchy pecans and chewy raisins. I loved this cake, especially with a drizzle of thickened cream.

Oh and if you are wondering why my cake looks a little dark - let me just say that I won't be trusting Mat to get my cake out of the oven from now on :P


Cinnamon Pecan Coffee Cake
(from Southern Cakes)
Makes a 13"x9" cake

For the Cake:

3 cups plain flour
1 tbsp baking powder
1 tsp salt
1 tsp vanilla extract
1 cup milk
1 cup unsalted butter, softened
1 cup sugar
2 eggs

For the Filling:

1½ cups brown sugar
3 tbsp plain flour
3 tbsp cinnamon
1½ cups raisins
1½ cups coarsely chopped pecans
¾ cup unsalted butter, melted
  1. Heat the oven to 180C. Grease and flour a 13 by 9 inch pan.
  2. To make the filling, combine the light brown sugar, flour and cinnamon in a bowl and stir with a fork to mix everything well. Combine the raisins and pecans in another bowl and toss to mix them. Place the cinnamon mixture, nut mixture and melted butter by the baking pan to use later.
  3. To make the cake batter, combine the flour, baking powder and salt in a bowl. Stir the vanilla into the milk. In a large bowl combine the butter and sugar and beat with a mixer on high speed until pale yellow and evenly mixed, about 2 minutes. Scrape down the bowl to ensure a good mix. Add the eggs and beat for another 2 minutes, scraping down the bowl now and then, until the mixture is smooth and light.
  4. Use a large spoon or spatula to add about a third of the flour mixture to the butter mixture and stir only until the flour disappears. Add a third of the milk and mix in. Repeat twice more until all the flour and milk mixtures have been incorporated. Stir just enough to keep the batter smooth.
  5. Spread half the batter evenly into the prepared pan. Sprinkle half the cinnamon mixture over the batter followed by half the melted butter. Scatter half the raisins and nuts over the top. Spread the remaining batter carefully over the filling, using a spatula to smooth the batter all the way to the edges of the pan. Top with the leftover cinnamon, butter and nut mixture, covering the cake evenly.
  6. Bake for 45 to 50 minutes, until the cake is golden brown, fragrant and beginning to pull away from the edges of the pan. Place the pan on a wire rack and allow to cool in the pan for 5 to 10 minutes before serving in squares right from the pan. The cake is delicious hot, warm or at room temperature.

Wednesday, October 7, 2009

Cupcake Hero - The Pumpkin Graveyard Cupcakes

Have you all heard about Cupcake Hero? Well I had heard of it and was only just getting on this crazy baking band wagon when it all came to an end. Luckily Clara from I Heart Cuppycakes has taken the Cupcake Captain position and Cupcake Hero is back (that is a tongue twister if ever I saw one), and this time I am going to participate.

This month's challenge is a pumpkin cupcake with Halloween themed decorations - yay! I love pumpkin and I have a new found love for decorating so this challenge excited me a lot. Supposedly there is a pumpkin shortage in America - but luckily there is no such thing here, I actually had a lot of leftover pumpkin waiting for me in the fridge - it was begging to be baked, really it was.

So without further ado, here are my little pumpkin graveyard cupcakes...
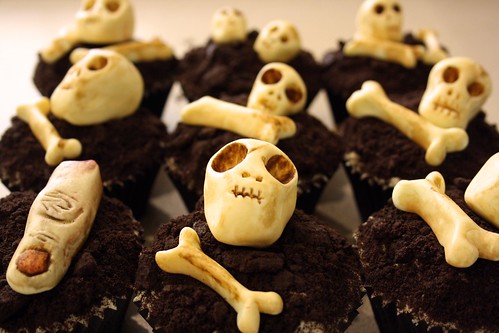

Pumpkin Graveyard Cupcakes

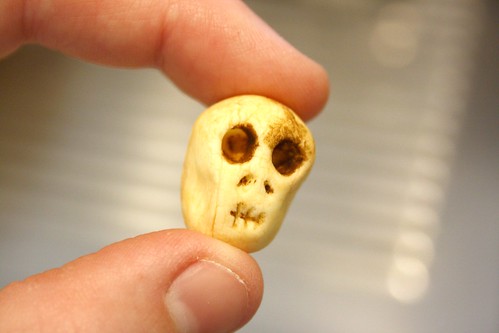
Moist pumpkin spice cupcakes topped with sweet cinnamon butter cream, then finely crushed Oreo biscuits and spooky fondant skulls, bones and fingers

Creepy no? I thought so.

So the first thing that you need to do to make these creepy looking cupcakes is to make the fondant decorations - of course you can always use some store bought candy/lollies if you don't have the time or patience for this step.

Skull/Bone/Finger Fondant Cupcake Toppers

250g modeling fondant (knead in 1/2 tsp of Tylopur or CMC to normal fondant to make modeling fondant)
yellow paste colour
brown paste colour
red paste colour
vodka
  1. Colour the fondant a very light yellow.
  2. Next shape the decorations - have fun with this bit, I made bones, skulls and fingers, but you can make whatever you desire :)
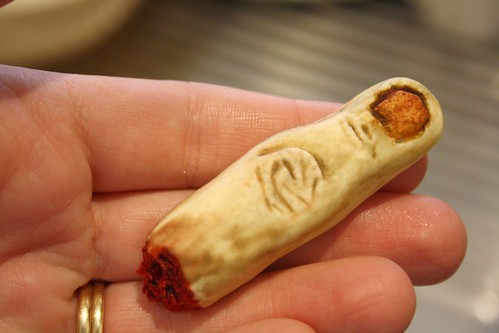
  3. Colour the decorations with the paste colours - I diluted mine with a bit of vodka and then painted directly on the decorations. I used the brown colour to make the bones and fingers look aged, and then the red for the end of the finger and the fingernail.
  4. Leave to dry over night - I left mine for 3 days (do not store in a plastic container, just leave them in a safe and dry place).
Here is one of the many bones...
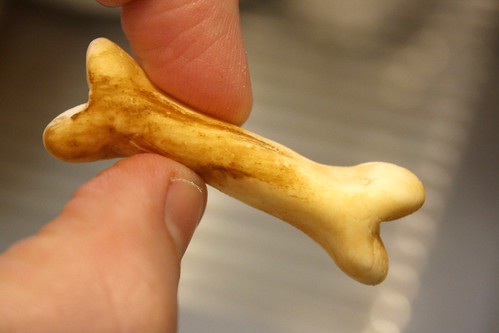

A tiny little skull - awww so cute...

And one of the gruesome fingers (and if you are wondering why it looks all bent and strange - that is because I modeled it on my finger, which is also all bent and strange)...

Now that you have your creepy decorations, it is time to make the cupcakes...

Pumpkin Spice Cupcakes (from Cupcake Heaven by Susannah Blake)
Makes 12 cupcakes

115g brown sugar
120ml sunflower oil
2 eggs
115g pumpkin, grated (finely grated)
grated zest of 1 lemon
115g self-raising flour
1 tsp baking powder
1 tsp cinnamon (I would reduce this to 1/2 tsp)
  1. Preheat the oven to 180C and line a 12-hole muffin tray with cupcake cases.
  2. Put the sugar in a bowl and break it up with a fork, then beat in the oil and eggs.
  3. Fold in the grated pumpkin and lemon zest.
  4. Combine the flour, baking powder and cinnamon in a bowl, and then sift into the sugar mixture and fold in.
  5. Spoon the mixture into the cupcake cases and bake for 18 minutes or until a skewer comes out clean. Transfer to a wire rack to cool.
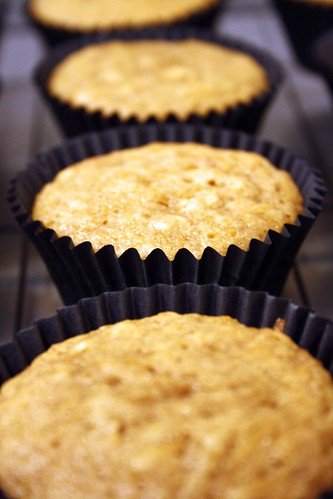
Next step is the...

Cinnamon Buttercream

125g unsalted butter, softened
500g icing sugar, sifted
1/4 cup milk
pinch of cinnamon
  1. Beat the butter until light and fluffy.
  2. Add 1 cup of the icing sugar and beat until combined. Scrape the sides of the bowl.
  3. Add the milk and beat until combined. Add the remaining ingredients and beat until combined and fluffy.
  4. Add more cinnamon if desired, add more milk if too stiff or add more icing sugar if it is not firm enough.
Now that the cupcakes have cooled put a dollop of buttercream on each cupcake and then using an offset spatula (or knife) level out the frosting.
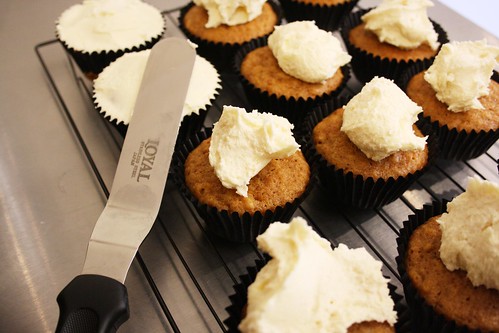

Next crush up a packet of Oreos - using either a food processor, a rolling pin or like me you could use your bare hands - I know I am an animal! Then coat each cupcake with the crushed up Oreos...
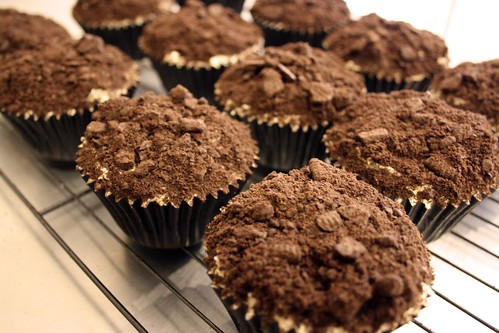

At this point you might want to do a little taste test...
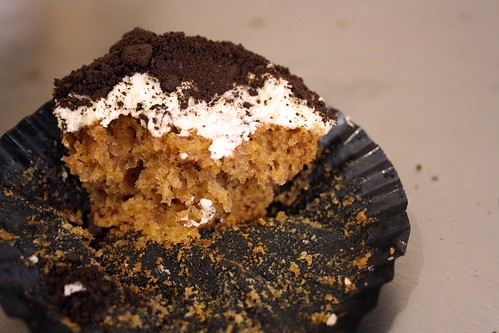

Yep these taste pretty darn good! The only thing that I would change would be to decrease the amount of cinnamon in the cupcakes (as I noted in the recipe).

To finish off the cupcakes top them with your creepy fondant decorations and then sit back and marvel at your creations (or just eat them, whatever you want to do).


One last thing...

Are you more of a creepy detached finger kinda person...


Or a skull and bones kinda person?

Tuesday, June 23, 2009

Baking Mondays - Cinnamon Swirl Cupcakes


I decided to take a small break from my A.. B.. Cupcakes project this week and instead made a recipe that I bookmarked a while back. I made Cinnamon Swirl Cupcakes from My Baking Addiction - and may I just say that these are yummy! If you are fan of cinnamon I suggest you give these a try.

The ratings?

Me - 8/10, these were really tasty - love the cinnamon mix swirled through the cupcake. The only down point was my silly oven not baking these properly - but I will definitely try these again when I one day get my new oven :D
Mat - 9/10, almost one of the best - the cake was too moist though (but again that was my oven playing up)